-
Prep Time30 minutes
-
Cook TimeDepends on recipe
-
View
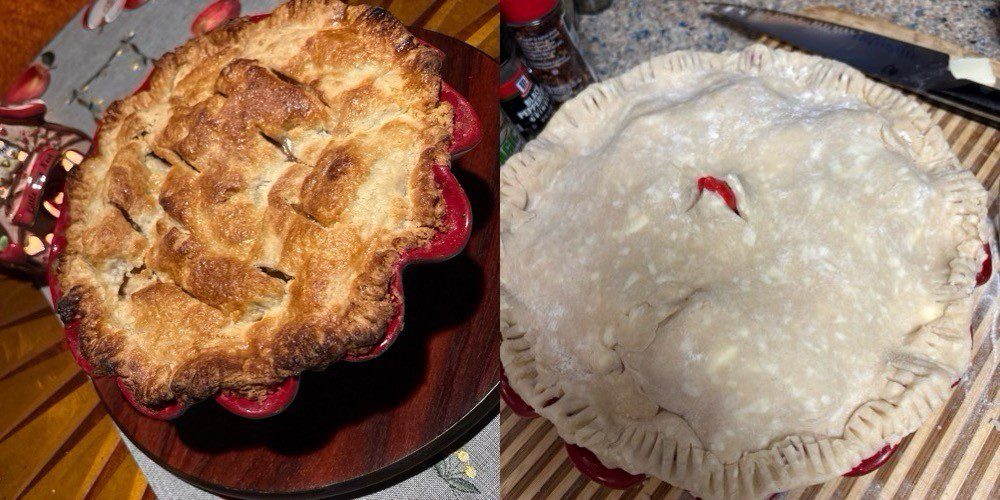
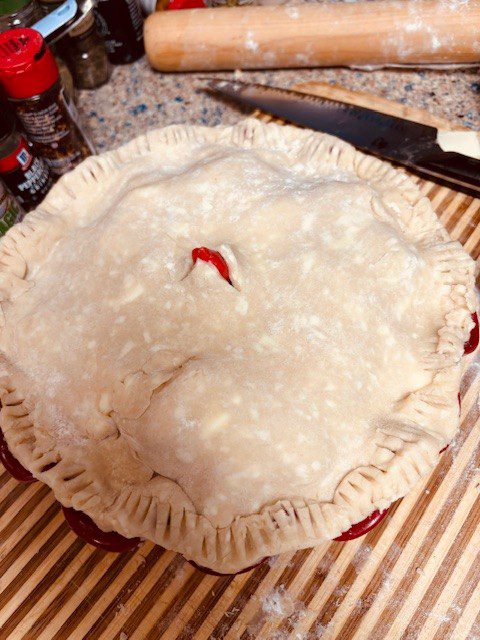
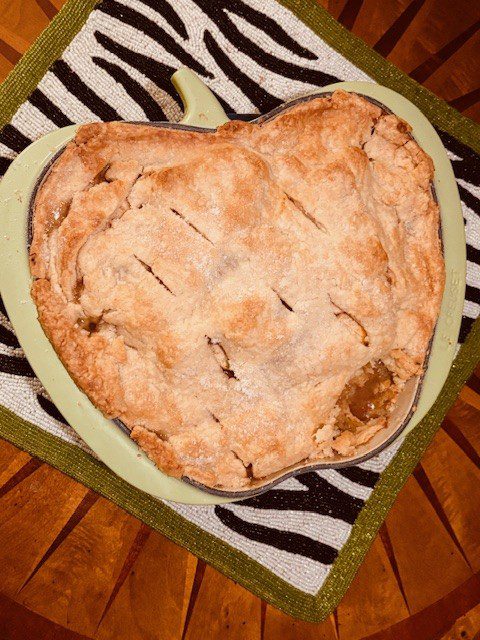
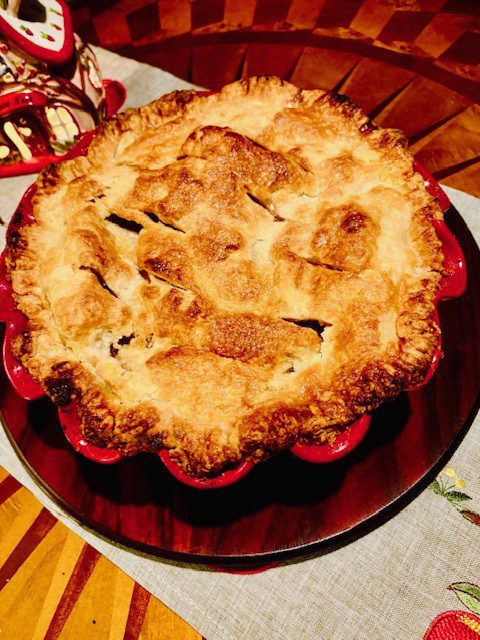
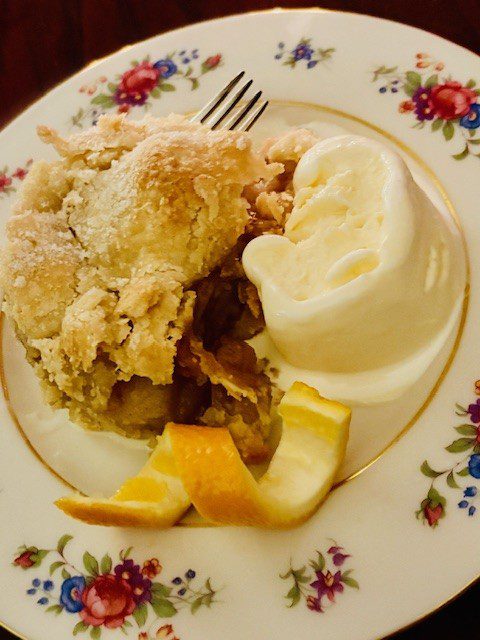
This has been a staple recipe in my dessert making recipe. It is from a Food Network Magazine article from November of 2016. I have kept the laminated page as a tutorial all that time! It produces a buttery flaky dough but you have to make sure you watch it closely so that the edges don’t burn in the oven. I love making this dough — it’s easy and it’s fun to roll out and makes a gorgeous rustic apple pie. This is not going to produce a professional looking pie — this is going to produce a pie that is homemade and slightly imperfect and one hundred percent delicious. And look at the little Le Creuset pie bird sticking up on the middle of the pie! I think he’s adorable and he does his job, allowing the steam to release while the pie cooks. If you don’t have a pie bird, make a few slices in the top crust with a sharp knife.
Ingredients
Pie Crust
Directions
Have your butter and Crisco cold. Put the water in a measuring cup and stick it in the freezer until it is really, really cold when you are ready for it.
Pulse the flour, sugar and salt in your Kitchenaid food processor. This is just to combine.
Add the Crisco and process for 30 seconds until the shortening disappears into the flour.
Add the butter and pulse until the mixture looks like cornmeal with bean sized bits of butter, about 12 pulses.
Drizzle the ice water over the mixture. Now pulse until the dough starts coming together but BEFORE it is a ball. It should stick together when you press it between your fingers.
Divide the dough into two disks. Press down into 3 inch disks or so and wrap in plastic. Store in the fridge for at least an hour.
Roll out each disk on a lightly floured surface. Roll and wrap the flattened dough around your rolling pin to transfer it to a pie plate. Bake as directed for an apple pie (recipe on this site). Protect the edges with foil to keep them from burning if necessary.


Leave a Review