-
Prep Time10 minutes
-
Cook Time15 minutes
-
Serving6
-
View
You should be able to roll out your biscuit dough in about the time it takes you to listen to the Martha White song!
Use Martha White flour for your biscuits if you can. It makes the most tender and flaky biscuits! And it’s what my grandmother used. (White Lilly is acceptable).
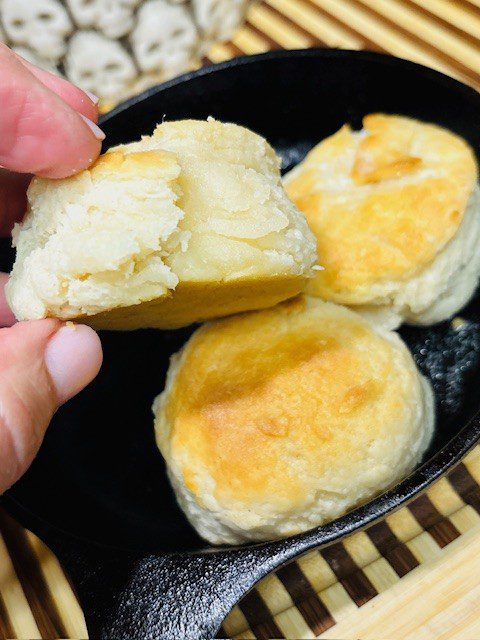
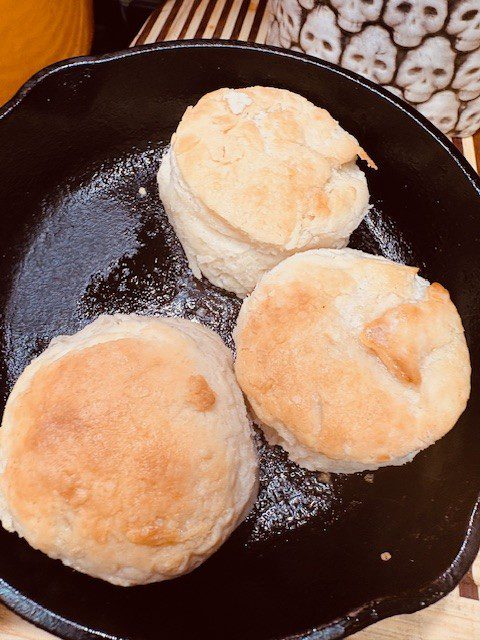
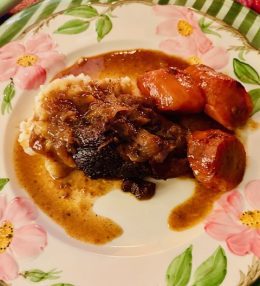
My grandmother would be proud of my biscuits. But it took years for me to get the hang of making these simple biscuits. How many times did I watch my mom and grandmother make biscuits? They could make these things in their sleep, scraping that wet dough off their fingers, patting the dough into a thick disc and then cutting them into rounds. Remember to grease your pan (a black skillet is best). And bake these in a hot oven. Keep all your ingredients cold and don’t work the dough too much. Use all purpose flour for your work surface and to sprinkle over the wet dough if necessary to help it come together (a.p. flour will not leave a metallic flavor on the outside of your biscuits). That’s really all you need to know. These are delicious with hot butter and cold preserves. Or smashed into a bowl of vegetable soup. Or stuffed with pork chops. Or open faced with ham and a poached egg. You get the picture. If you’re a Southern cook and you can’t make good biscuits you should be ashamed.

Ingredients
Biscuits
Directions
The secret here is to keep everything cold. Sometimes I sift my flour and put it in the frig for a while. The Crisco should be very cold. The buttermilk should be cold. And your HANDS should be cold!
Sift your flour and THEN measure out two cups. The flour goes into a bowl that is large enough that you can work your hands in it.
Cut in the shortning. Do this with a fork. Or do it with your cold fingers -- this is where you pick up the pieces of Crisco and "snap" your fingers, incorporating the shortning into the flour so that you have pea-sized bits of it throughout. Do this quickly so that you don't warm up your flour/shortning.
Add the buttermilk. Don't add it all at once. See how much liquid your flour is going to absorb. This could vary from day to day. Mix in the buttermilk with your hands. You want a very wet batter. When you can scrape it off the sides and bottom of the bowl and get it in a heap on your work space, do it.
You will have a shaggy mound of wet batter. You will scrape it off your fingers and hands until you can start shaping it into a ball. Have your extra all purpose flour ready and sprinkle some on your work surface. Not too much. You want a soft dough.
Turn the dough over itself a few times adding a.p. flour if you need to until you can pat it out into a circle or rough square, about 1 1/2 inches thick. You want thick biscuits! Don't knead this dough. Just turn it over a few times, folding it over, patting it out, until you are ready to cut it.
Cut the biscuits. Use as sharp a biscuit cutter as you can find. Do not twist the biscuit cutter when you cut the biscuits - that will inhibit the "rise." Flip them over and put them in the (greased) pan so that the side on your work surface becomes the top side of the biscuit in the pan.
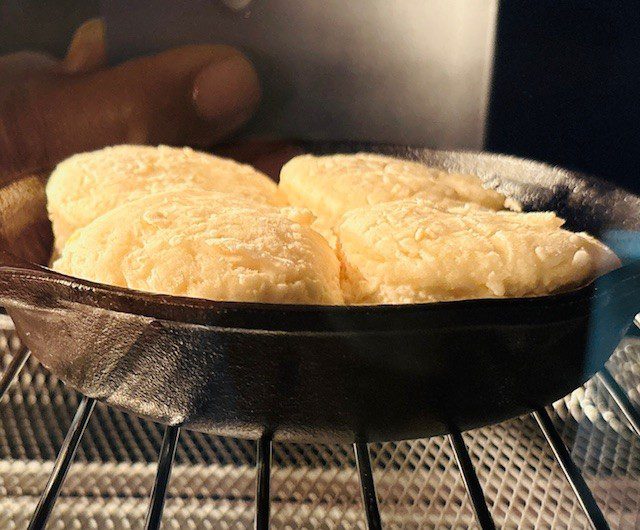
Bake at 450 degrees until lightly brown on top, and a little more golden brown on bottom. You can take one out and test it and pop them back into the oven if necessary. Slather them with butter. Eat while they are HOT.


Leave a Review